
Laying tiles: the complete guide from substrate to grout

In short: laying tiles involves fixed steps: a level surface, setting out the pattern at right angles, the correct adhesive and grout width, and expansion joints in the right place. The greatest result lies in the preparation, not in the tiling itself.
This guide bundles every step and refers to the detailed step-by-step plan for each section. Would you like to assess the tile yourself first? Request free samples via tegelmonsters.nl/tegels.
In this guide
- Laying tiles step by step
- Preparing the subsurface
- Mark out the pattern at right angles
- Choose adhesive and joint width
- Expansion joints and how much to order
- The most common mistakes
By Osman Orman · Tile and technical specialist at Tegelmonsters
How do you lay tiles, step by step?
The main line
Laying tiles follows fixed steps: checking and leveling the substrate, marking out the pattern from a clean corner, setting the tiles in the correct adhesive, grouting at the chosen width, and installing expansion joints. Adhering to this sequence prevents most problems later on.
Broadly speaking, the process looks like this:
- Check the substrate for flatness and adhesion, and level it with a self-leveling compound if necessary.
- Lay out the pattern from a perfect, right angle, so that the cutting edges meet at the edge.
- Spread the adhesive in the correct bed and set the tiles with the necessary pressure.
- Maintain the chosen joint width using spacers or wedges.
- Install expansion joints and grout only when the adhesive has sufficiently cured.
Each step has its own effect. The common thread is that a small mistake at the beginning, regarding flatness or expansion, only becomes larger further down the floor. That is why the profit lies in the preparation.
How do you prepare the surface?
Substrate
A good substrate is flat, dry, clean, and load-bearing. Flatness is the most important requirement: the larger the format, the tighter the flatness class must be, because a large tile cannot bridge irregularities. A hollow space under the tile is the most common cause of loosening and breakage.
Check the floor with a straightedge and fill low spots with a suitable leveling compound. Then vacuum to remove dust and, on a highly absorbent or smooth surface, apply a primer to ensure good adhesion of the adhesive. For large format tiles and completely filling the adhesive bed, the approach is detailed in the guide on tile adhesive for large format tiles.
Advice from the specialists at Tegelmonsters
In practice, things almost never go wrong during the laying itself, but during the preparation. You won't notice a floor that is a few millimeters out of level with small format tiles, but with large format tiles, every tile will wobble. Invest the time in the screed and the self-leveling compound; it will pay off in a floor without loose tiles.
What tools do you need to lay tiles?
Tools
Good tools make the work faster and more accurate. The basics are a notched trowel of the correct size, a straightedge or laser to check flatness, a tile cutter or wet saw, spacers or wedges for the grout, and a rubber mallet with a spirit level for adjustment. The right tools prevent most beginner mistakes.
You choose the notch width based on the size: the larger the tile, the coarser the notch, so that the adhesive bed remains full. For large formats, you often use the combination method, where you notch both the substrate and the back of the tile. A wet saw provides a cleaner cut than a hand cutter on thick or hard tiles, and a rubber mallet prevents damage when tapping. Check every row with a straightedge or laser; laying a floor level by eye is almost never successful.
How do you set out the pattern at right angles?
To expand
Accurate setting out starts with a true right angle. A room is rarely exactly perpendicular, so you set out your own axes instead of starting against the wall. This way, cutting edges line up neatly at the edge and the pattern does not veer off as you progress.
The most reliable method without a large set square is the 3-4-5 rule for setting out at right angles : measure 3 along one line, 4 along the other, and at an oblique measurement of exactly 5, the angle is at a right angle. If you want the grout lines to run continuously from floor to wall, additionally lay out the tiles flush , so that the seams align.
Want to assess the tile in real life first?
Size, calibration, and edge finish determine how a tile lays. Request free samples and evaluate them on your own substrate.
Which adhesive and which joint width do you choose?
Glue and grout
Select the adhesive and joint width based on size, substrate, and zone. A flexible adhesive and a fully filled adhesive bed prevent voids, and the joint width must match the dimensional stability of the tile. Joints that are too tight with non-calibrated tiles create a restless appearance and tension.
| Context | Joint width | Point of attention |
|---|---|---|
| Interior wall | 2 to 3 mm | Calibrated may be tighter |
| Interior floor | 3 to 4 mm | Large format requires fuller joints |
| rectified | about 2 mm | Straight line, less play |
| Outdoor | at least 5 mm | Space for expansion and water |
The complete guideline per zone can be found in the selection guide for joint width . The depth of the joint is a separate choice, detailed under joint thickness . Tighter dimensions apply to rectified tiles, described in the guide on joint width for rectified tiles.
Where do you place expansion joints and how many tiles do you order?
Dilation and quantity
Expansion joints accommodate movement and should be placed along walls, around obstacles, and at fixed intervals in large spans. To determine the quantity, calculate your surface area plus cutting waste, which increases significantly with diagonal and herringbone patterns. Ordering too little will result in reordering from a different batch, with a color difference.
Never skip expansion joints for the sake of appearance; their proper placement is explained in the guide on expansion joints for tiles . Cutting waste varies significantly depending on the laying pattern:
Calculate it precisely with the guide on calculating cutting loss per pattern , and always add a reserve for breakage and later repairs.
What are the most common mistakes when laying tiles?
What often goes wrong
Most problems do not arise during the installation process, but from a few recurring mistakes: starting on an uneven surface, expanding against a slanted wall, a half-filled adhesive bed, and skipping expansion joints. Each of these four manifests later as loose tiles, crooked lines, or cracks.
What does work, briefly summarized: a flat surface, setting out from a perpendicular axis, a full adhesive bed with the correct notched trowel, a joint width that matches the tile, and expansion joints where they belong. If you take the time for those five, the laying itself is the easy part.
Two practical habits make a big difference. First, lay out a few rows dry to check the pattern and cutting edges before applying adhesive. And only grout when the adhesive has sufficiently cured, usually after a day. Grouting too early draws moisture from the adhesive and results in weak, unevenly cured joints.
How do you put together a sample pack for your tiling project?
Assemble sample package
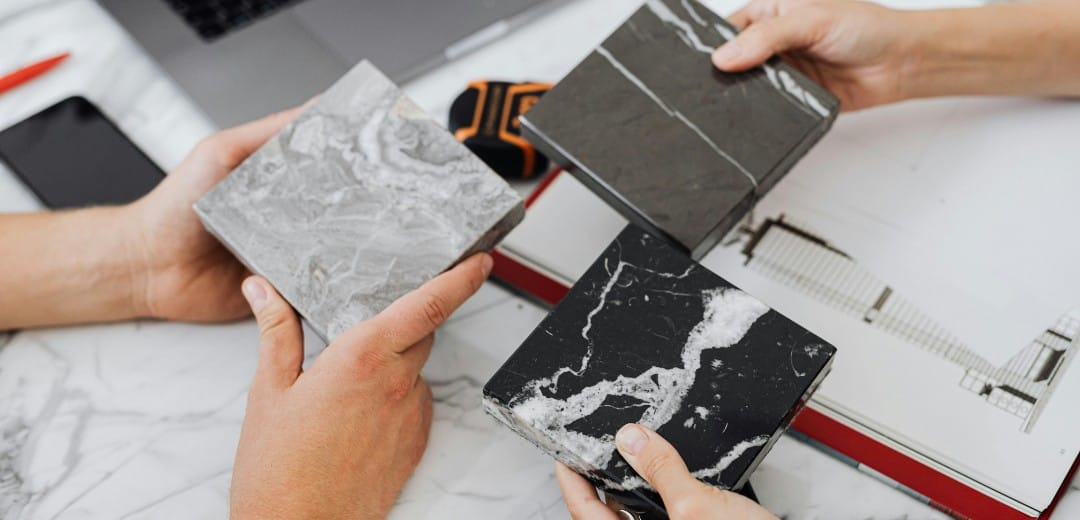
How a tile is laid depends on size, calibration, and edge finish. A rectified, calibrated tile lays straighter than a tile with natural edges. Assess this on your own subfloor beforehand so that you can match your laying pattern and grout width accordingly.
Put together your sample pack
Frequently asked questions
Can you lay tiles yourself?
Laying tiles yourself on a straight wall or floor with standard sizes is quite manageable, provided the subfloor is level. Large formats, natural stone, and complex patterns require more experience and tools. The subfloor and layout determine the final result more than skill with a trowel.
What joint width should you maintain?
Indoors, the joint width is usually between 2 and 4 mm, while outdoors it is a minimum of 5 mm. Rectified tiles may be narrower, around 2 mm. The correct size depends on the format, zone, and whether the tile is calibrated; the complete guideline per zone can be found in our joint width selection guide.
How many tiles do you need per square meter?
Calculate your surface area plus cutting loss: 5 to 10 percent straight, 10 to 15 percent diagonal, and 15 to 20 percent for herringbone, plus a reserve for breakage and later repairs. It is better to order slightly more, as reordering from a different batch will result in color differences.
Where should expansion joints be placed?
Expansion joints should be located along all walls and vertical structures, around columns, above existing seams in the substrate, and at fixed intervals in large spans. They accommodate floor movement and prevent tiles or grout from cracking. Never omit them for aesthetic reasons.
What is the 3-4-5 rule when tiling?
The 3-4-5 rule is a method for setting out a perfect right angle without a set square: measure 3 units along one line, 4 along the other, and if the diagonal distance is exactly 5, the angle is square. In tiling, this prevents a small initial error from carrying through the entire floor.
Which tile adhesive do you use for large format?
For large-format and low-absorption tiles, use a flexible C2 adhesive, often in the flow or combi method so that the adhesive fully supports the tile. The amount of void space under the tile is the most significant failure factor for large formats, more so than the brand of adhesive.
Choose the right tile for your project
Request free samples and assess size, calibration, and edge finish on your own substrate, or ask our specialists your question.
Sources
- NEN-EN 14411:2016 – Ceramic tiles: definitions, classification and dimensional stability.
- NEN-EN-ISO 10545-13:2016 – Ceramic tiles: determination of chemical resistance.
- Industry guidelines for tiling – substrate flatness classes, adhesive bed filling, expansion joints, and curing time for grouting.