Removing mold in the bathroom: grout and silicone sealant

By Osman Orman · Tile and technical specialist at Tegelmonsters
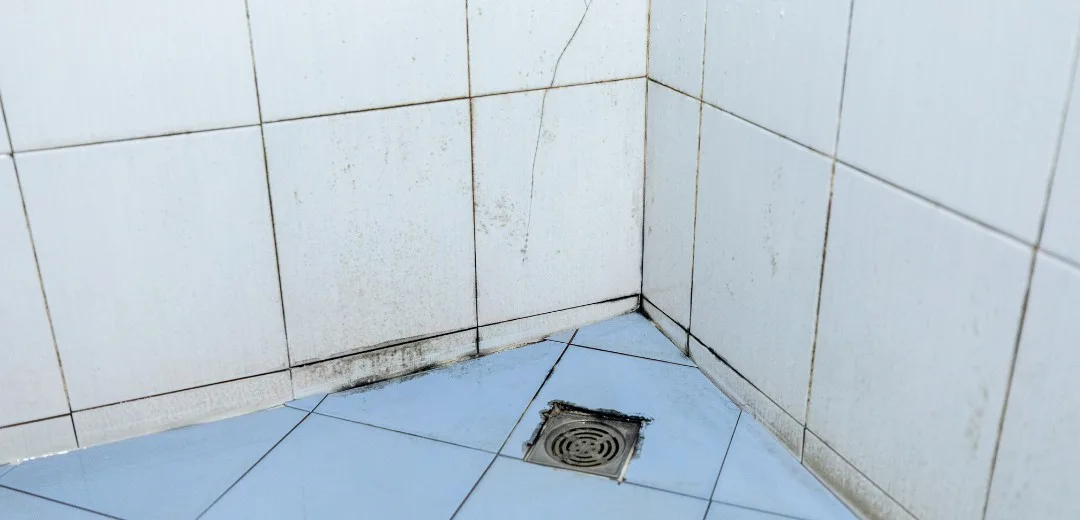
To remove bathroom mold, first determine where the mold is located: in the porous cement grout, clean it; in the flexible silicone sealant along the bath or shower, it is often better to cut it away and replace it. Use a targeted mold cleaner and avoid aggressive household remedies, as these will actually damage the grout.
That diagnosis determines the approach and saves hours of useless scrubbing. In this guide, you will learn how to remove black mold from grout, when the sealant needs replacing, and why moisture and ventilation are the real cause.
When removing bathroom mold, it is all about the location. In cement grout, you clean away the mold with a mold cleaner or a deep grout cleaner, and then protect the grout. In or under silicone sealant, mold usually penetrates too deeply, so you cut it away and replace it with mold-resistant sealant. Vinegar and baking soda damage cement grout and natural stone, so it is best to avoid them. The real solution lies in ventilation: if the moisture disappears quickly, the mold will not return. Further down, you will find the professional Fila cleaner, and if you are looking for low-maintenance tiling, the collection at tegelmonsters.nl/tegels is a good starting point.
In this article
- How can you remove mold in the bathroom without damage?
- Why does mold form specifically in the bathroom?
- Is the mold in the grout or in the silicone sealant?
- How do you remove black mold from grout?
- How do you remove mold from silicone sealant?
- Why does mold return in the bathroom?
- How do you put together a sample package for a low-maintenance bathroom?
- Frequently asked questions
Method
How can you remove mold in the bathroom without damage?
The bathroom is the dampest room in a building, and mold targets the weakest material there. A glazed tile has a dense, hard surface where spores get little grip. The grout between them and the sealant along the bath and shower are more porous and rougher, so that is where mold attaches itself. The ISO 10545-14 standard describes how to measure the stain resistance of ceramic tiles, and it is precisely this density that makes the tile itself easy to clean.
Two terms will help you further. A cement joint is the common grey or coloured cement-based joint, and it is porous. Silicone sealant is the flexible, rubbery seal used in corners and along sanitary fixtures, which moves with the material. The European standard NEN-EN 13888 classifies joint mortars as CG for cement and RG for reactive resin, or epoxy. Once you know which material you are dealing with, you also know how carefully to clean.
The safe foundation is simple. Choose a product specifically designed for mold or grout and keep the surface damp so the product can soak in rather than dry out. Work on a wall from top to bottom and let the soaking do the work. For cleaning the tile surface itself, our explanation on cleaning tiles goes into more detail regarding materials and products, and for general grout maintenance, you will find the basic steps in our guide on cleaning grout.
Cause
Why does mold form specifically in the bathroom?
Moisture is the driving force behind recurring mold in the bathroom. A lot of water vapor is released during a shower, and if it is not quickly removed, the moisture condenses on colder walls, grout, and the sealant joint. If that moisture remains, mold spores have enough to germinate within a few days. The problem is therefore rarely the product you use, but the moisture that remains.
Government figures show that it is a widespread problem. According to the central government, more than one in five households now report damp and mold in their homes, compared to about fifteen percent a few years earlier. The RIVM links damp and mold in homes to respiratory complaints and observes these problems in approximately one-fifth of homes. In many cases, reduced ventilation plays a role, causing moisture to linger longer.
The reason the grout turns black first lies in the material's composition. The more water a material absorbs, the more susceptible it is to mold. A smooth glazed tile allows moisture to remain on the surface, where it can be easily wiped away. A cement grout with micropores holds it, just like the structure of the tile body itself, as shown in our explanation of water absorption in ceramic tiles .
Water absorption of tile and grout materials
The more water a material absorbs, the more susceptible it is to mold. Indicative values according to the water absorption classes from ISO 10545-3.
Diagnosis
Is the mold in the grout or in the silicone sealant?
The greatest time savings lie in the correct diagnosis. Many people scrub themselves silly on a sealant joint where mold has long since settled underneath, even though cleaning is no longer effective. Briefly press your fingernail on the black joint. If it is hard and stony, you are looking at a cement joint. If the joint gives slightly and is rubbery, it is silicone sealant. That distinction guides the entire approach.
Cement grout is porous, so mold often still grows in the top layer and can be cleaned away. Afterward, you protect the grout against new buildup. Silicone sealant is a closed, flexible material, but as soon as a small crack or loose edge appears, moisture creeps underneath and mold grows on the inside. In that case, cleaning remains at the surface, and replacement is the sustainable choice. Our bathroom application page can help with building a bathroom layer by layer.
The most frequently asked question our team receives about mold concerns precisely this distinction: clean or replace? In the projects handled by us, we see that an incorrect diagnosis leads to endless scrubbing without results. A minute of feeling and looking saves you an afternoon's work.
Add
How do you remove black mold from grout?
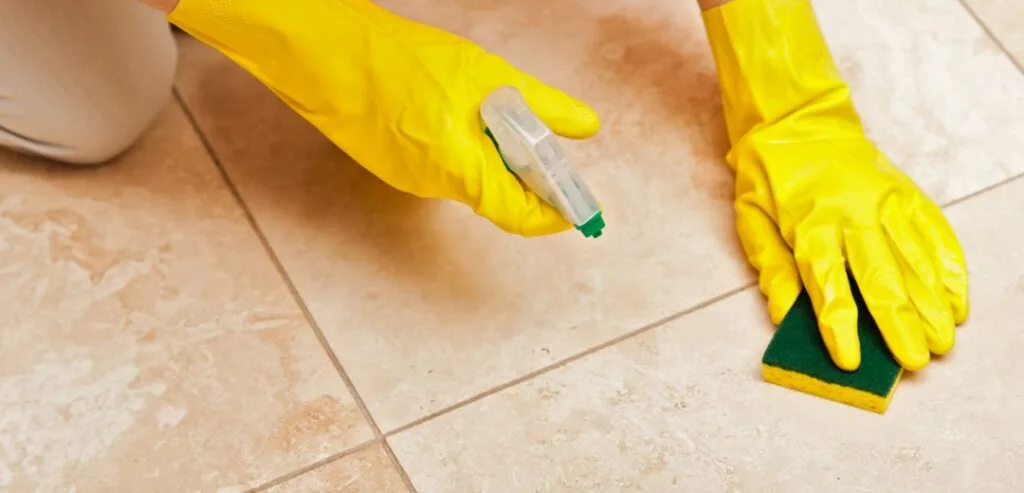
A fixed sequence yields the best results and protects the grout. Work in manageable sections so that the product does not dry out before you can reach it. The five steps below apply to standard cement grout on ceramic or porcelain. If you have natural stone, choose a pH-neutral product in step two—that is, one that is neither acidic nor alkaline—and skip abrasive tools.
- Lightly dampen the grout and ensure ventilation, as a mold cleaner works best on a damp, well-ventilated surface.
- Apply the mold cleaner or a deep grout cleaner to the black spots.
- Allow the product to soak in for five to ten minutes so that it reaches the fungus deep into the pores.
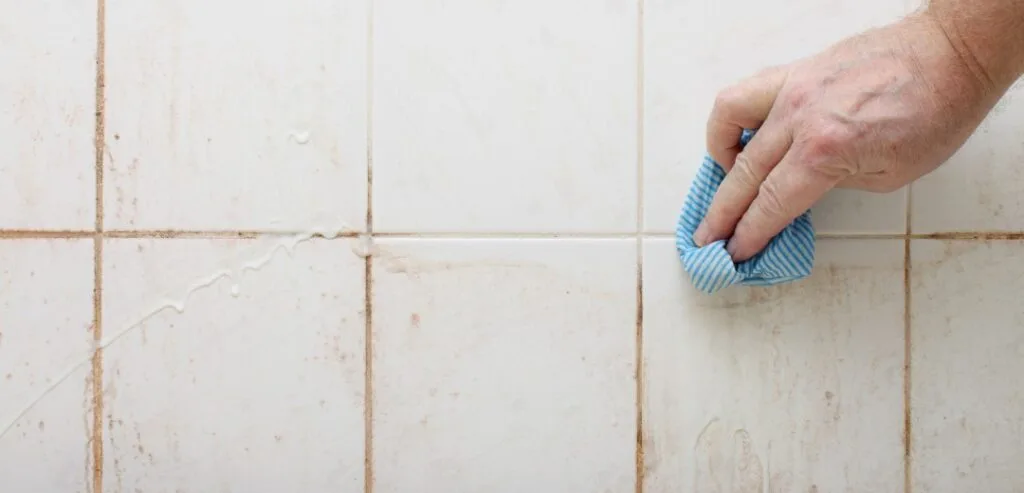
- Brush along the grout with a soft brush, not across it, so that you do not scratch the tile.
- Rinse thoroughly with clean water and allow the grout to dry well before assessing the result.
For deeply ingrained black stains in porous cement grout, a standard all-purpose cleaner falls short. A deep cleaner specifically designed for grout loosens the deposits down to the pores without dissolving the grout itself. You dilute such a product according to the degree of soiling, making it suitable for both light weekly maintenance and a thorough cleaning. Bleach does lighten the stain, but it does not truly clean, and the mold returns as long as the moisture persists.
Recommended solution
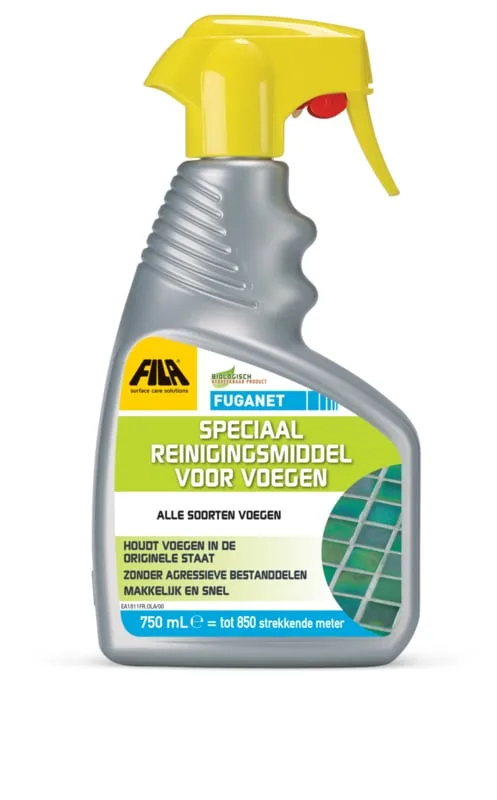
Fila Fuganet
A deep cleaner specifically for grout that loosens black deposits and ingrained dirt without damaging the cement grout. You dilute it according to the degree of soiling, from light maintenance to a thorough cleaning in the bathroom.
€18,75
The right product saves hours of work. Check out the professional cleaners and protectors that allow you to remove mold in the bathroom faster and with less scrubbing.
Silicone sealant
How do you remove mold from silicone sealant?
Silicone sealant requires a different approach than the joint, because it is a flexible, closed material. As long as the mold is really on top of the sealant, a mold cleaner works well. Apply the product, let it sit for a few minutes, and then rinse it away completely. Wear gloves and ventilate the room while working, as you do not want to inhale the spores and fumes.
If the black discoloration penetrates deeper into the sealant or is underneath it, replacement is the only real solution. Cut away the old sealant seam with a sharp knife and remove any remaining residue, using a silicone remover if necessary. Clean the edges and allow the seam to dry completely. Then apply fresh, mold-resistant sanitary sealant. This immediately restores the waterproofing along the bath, shower, or sink and prevents moisture from seeping behind it again.
What we often see is that a sealant joint turns black again within a year of being replaced. This is almost always due to moisture lingering, not the sealant itself. Cut away the old joint with plenty of margin, allow the sides to dry thoroughly, and choose a mold-resistant sanitary sealant. Then, continue ventilating for a while after showering. That combination will keep the joint clean for years instead of months.
Prevention
Why does mold return in the bathroom?
Cleaning solves the visible problem, but not the cause. As long as moisture remains on the grout and sealant after every shower, new stains will find the same breeding ground. The sustainable solution therefore lies in quickly removing moisture. Turn the mechanical ventilation to the highest setting during and after showering, or open a window, and let it continue running for a while afterwards.
This approach aligns with regulations. The Building Decree sets requirements for the ventilation of bathrooms and toilets, precisely to limit moisture problems. The ventilation tips from the central government go a step further and advise continuing to ventilate daily, even outside of showering. In practice, leaving a window open for a moment after showering already makes a big difference.
Protection is the final step. Immediately after thorough cleaning, the cement joint is clean but also open and susceptible. This is the moment to impregnate, which means allowing a protective agent to soak in that seals the pores. Water and dirt then remain on the outside, while the joint continues to breathe. In our showroom in Utrecht, we hear from project managers that the order of cleaning, drying, and protecting significantly eases maintenance in busy sanitary areas.
Sample package
How do you put together a sample package for a low-maintenance bathroom?
Anyone retiling a bathroom can make front-end maintenance easier. The less water a tile absorbs, the less grip mold gets. A dense porcelain tile keeps moisture at the surface, and a dense or epoxy-bonded grout gets dirty more slowly than a wide cement grout. Moreover, for large walls and floors, a sleek laying pattern saves meters of grout, and therefore meters of maintenance.
Ideally, assess materials physically before finalizing your choice. Using the sample request on tegelmonsters.nl, you can group tiles by project and view finish, color, and texture in your own lighting. In the projects handled by us, we observe that an initial selection is made online, followed by an assessment in our showroom in Utrecht, by appointment only for professionals.
Looking for a low-maintenance bathroom? Choose an application, filter for dense tiles with low water absorption, and request free samples to evaluate them in your own space first.
Bathroom tiles Kitchen tiles Request free samples Open the Sample Folder
For larger sanitary or hospitality spaces, we link maintenance to the right floor tiles per room, so that the floor, walls, and grout can be kept clean as a unified whole.
Mold is one of the problems associated with tile maintenance in damp areas. You can read how to safely keep a tiled floor clean in general in the guide on cleaning ceramic tiles.
Frequently asked questions
How do you remove black mold from grout?
To remove black mold from grout, moisten the affected areas, apply a mold cleaner or strongly diluted bleach, and let it sit for five to ten minutes. Then gently brush along the joint and rinse thoroughly with clean water. Allow the grout to dry well and ventilate the room, as mold will return as soon as moisture lingers. If the black mold remains in a porous cement joint, a deep grout cleaner works better than vinegar or baking soda, which actually damage the grout.
How do you remove mold from silicone sealant?
If the mold is superficially on the silicone sealant, remove it with a mold cleaner that you let work briefly and then rinse off. If the mold is deeper in or under the sealant, no product will clean it away. In that case, cut away the old sealant with a knife, remove the residue, let the joint dry completely, and apply new, mold-resistant sanitary sealant. This immediately restores the waterproofing along the bath or shower.
Why does mold return in the bathroom?
Mold returns because the root cause remains: moisture that lingers on the grout and sealant after showering. A cleaner removes the stain, but not the source of the moisture. Without proper ventilation and without allowing the grout to dry, the mold grows back within a few weeks. According to the Dutch government, more than one in five households report damp and mold in their homes. Ventilating during and after showering, impregnating the grout, and light maintenance keep the bathroom mold-free.
Is vinegar or bleach suitable for mold in the bathroom?
Vinegar is an acid that dissolves lime, but it damages cement grout over time and dulls natural stone such as marble. Bleach lightens the black mold stain but does not truly clean, and the mold can return if moisture persists. For the grout itself, a pH-neutral or specialized mold cleaner is safer. Never mix bleach with vinegar or other acidic agents, as this combination produces harmful fumes.
When should you replace the silicone sealant?
You replace the silicone sealant if the mold won't come out, if the sealant detaches from the tile, or if water seeps behind it. Mold often penetrates so deeply into the flexible sealant that cleaning only reaches the surface. In that case, you cut away the old seam, clean and dry the edges, and apply fresh mold-resistant sealant. A properly applied sealant joint will then last for years.
Is mold in the bathroom harmful?
Mold spores in a poorly ventilated bathroom can worsen respiratory complaints and allergic reactions. The RIVM links moisture and mold in homes to health complaints and observes problems in approximately one-fifth of homes. Therefore, remove visible mold promptly, wear gloves, and ventilate while working. The structural solution is to address the source of moisture with better ventilation, so that the spores no longer find a breeding ground.
How do you prevent mold in the bathroom?
You prevent mold by removing moisture quickly. Turn the mechanical ventilation to the highest setting during and after showering, or open a window, and let it continue running for a while after showering. Dry the walls and the sealant joint where possible, and protect the cement grout with a moisture-repellent impregnating agent. A dense, low-porosity tile and a well-applied sealant joint make subsequent maintenance much easier.
What is better against mold, vinegar or baking soda?
Neither is ideal. Vinegar is acidic and attacks cement grout and calcareous natural stone, while baking soda is abrasive and leaves residue behind. For mold in grout and sealant, a targeted mold cleaner works better: it kills the spore instead of just bleaching the stain, without damaging the grout.
How do you remove stubborn mold in the bathroom?
Let a mold cleaner sit on the grout or sealant for ten to fifteen minutes, then scrub with a soft brush. If the mold returns, it is often in the silicone sealant, which is best replaced. Afterwards, improve ventilation so that moisture does not linger.
Tackle mold and keep it away?
Choose the professional Fila cleaner for your grout, or request free samples if you are ready for low-maintenance new tiling.
Sources
- National Government – Damp and mold in the home and ventilation tips; proportion of households with damp and mold complaints.
- RIVM – Mold and moisture problems in homes: health effects and spread.
- Building Decree 2012, Section 3.6 – Requirements for the ventilation of bathroom and toilet rooms.
- ISO 10545-14 – Ceramic tiles: determination of stain resistance.
- ISO 10545-3 – Ceramic tiles: determination of water absorption and classification.
- NEN-EN 13888 – Tile grouting mortars: classification CG (cement) and RG (reactive resin).